Plan a Small DIY Bricklaying Project for Your Backyard

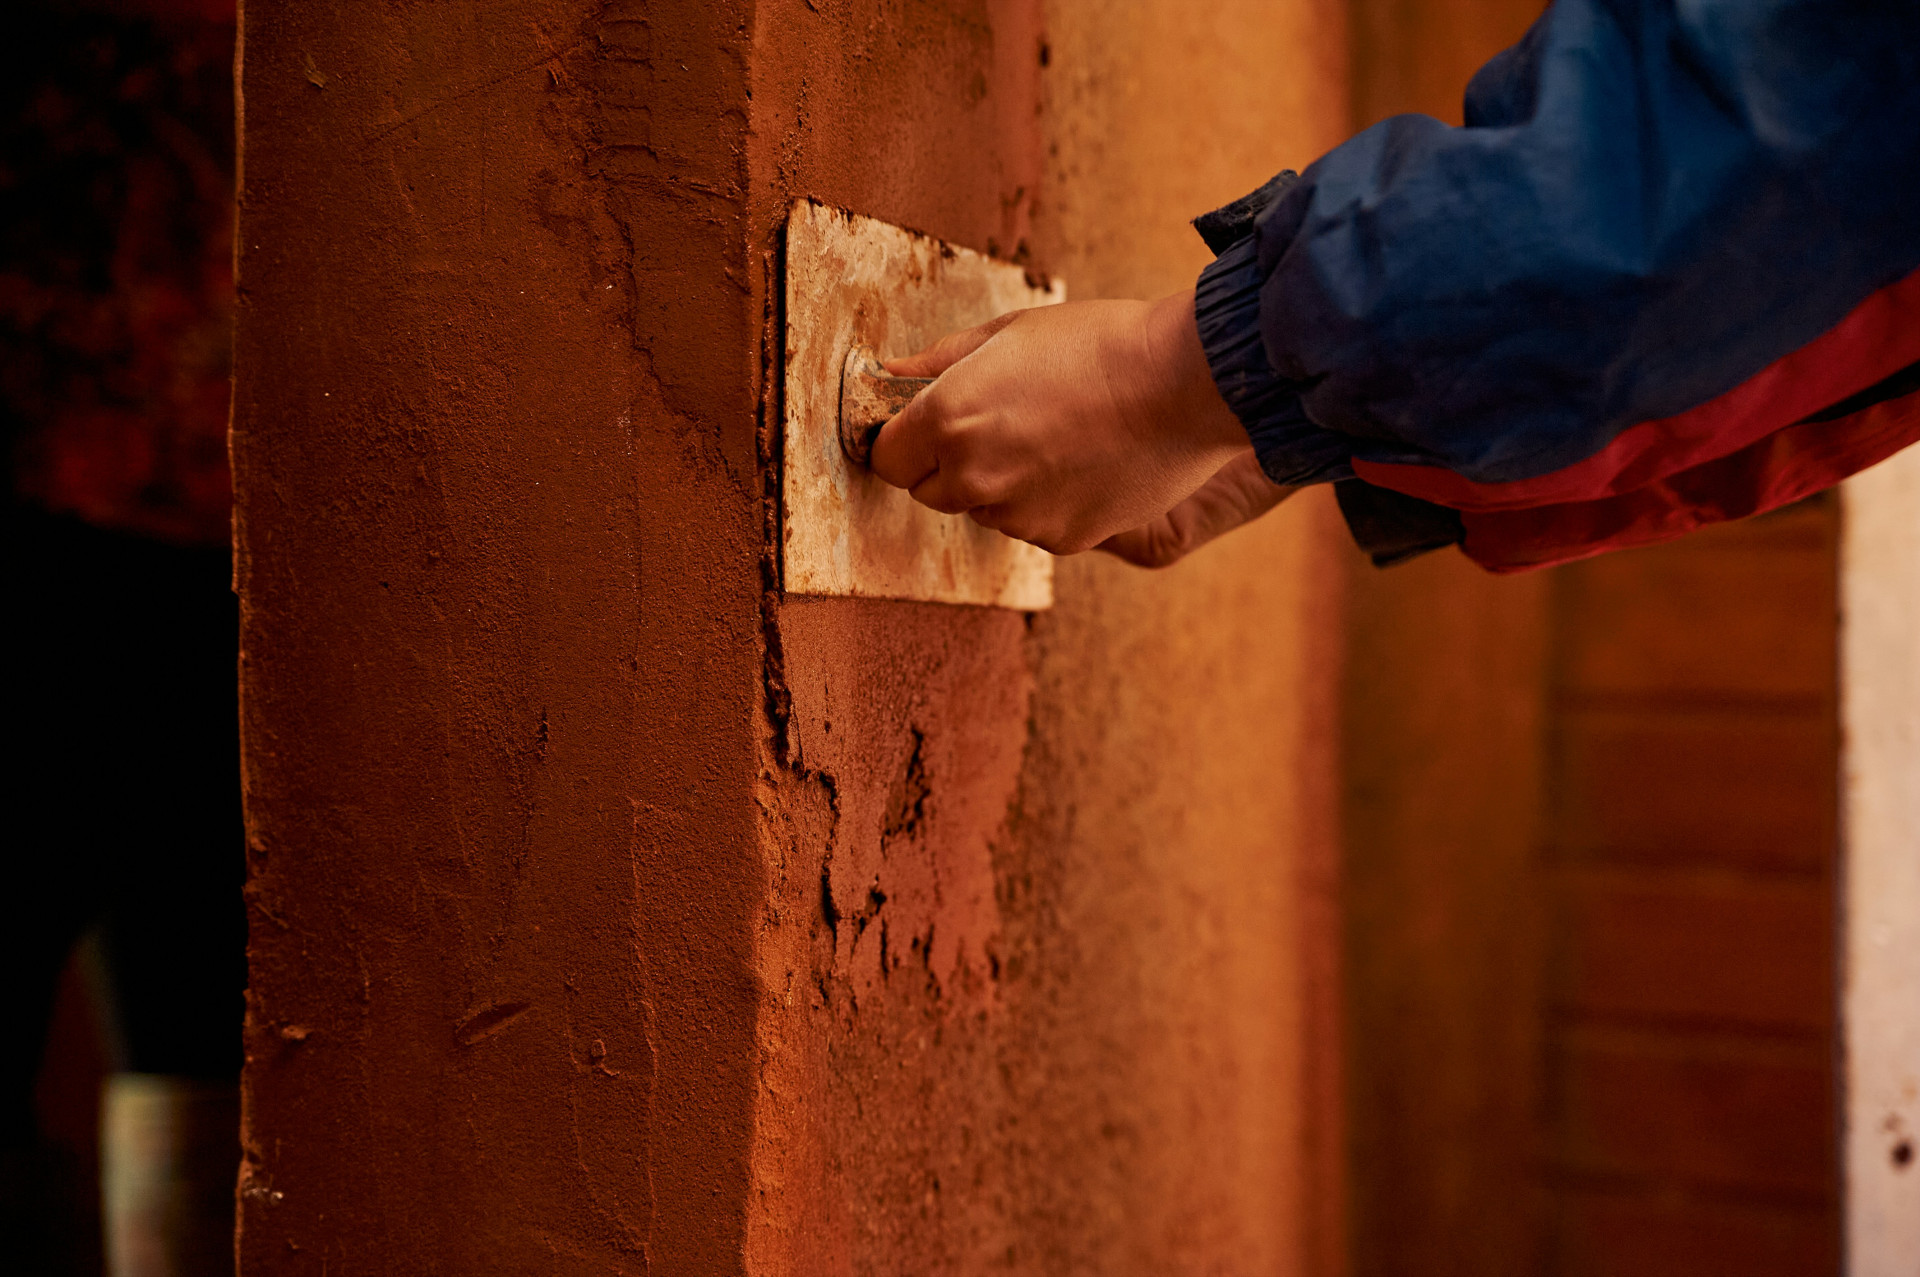
Plan a Small DIY Bricklaying Project for Your Backyard
A small bricklaying project can be a rewarding way to enhance your backyard. Whether you want to build a short garden wall, a raised flower bed, or a decorative feature like a bench or fire pit, a bit of planning and patience will help you create something that lasts for years. Here’s a step-by-step guide to planning and completing a small DIY bricklaying project at home.
Start with an Idea and Purpose
Before you start mixing mortar, take time to define what you want to build and why. A clear purpose will help you choose the right materials, size, and location. Ask yourself:
- Will the wall serve a practical function, such as supporting soil or defining a patio area?
- Is it meant to be decorative, adding character to your outdoor space?
- How large should it be, and where will it fit best in your yard?
Sketch your idea and measure the area carefully. This will help you estimate how many bricks and how much mortar you’ll need.
Choose the Right Materials
Outdoor brickwork must withstand weather changes, so choose frost-resistant bricks and mortar designed for exterior use. In the U.S., you can find these materials at most home improvement stores like Home Depot or Lowe’s.
Common choices include classic red clay bricks, concrete bricks, or modern gray tones that complement contemporary landscaping. You might also consider adding capstones or coping bricks on top of your wall to protect it from rain and give it a finished look.
Prepare a Solid Foundation
A sturdy foundation is essential for a stable wall. Even a small structure needs a firm base to prevent shifting or cracking over time.
- Dig a trench about 8–12 inches deep and slightly wider than your wall.
- Fill the bottom with a few inches of compacted gravel for drainage.
- Pour a layer of concrete on top and let it cure for at least 24 hours before laying bricks.
A level, well-cured foundation ensures your wall will stay straight and strong.
Læs også:
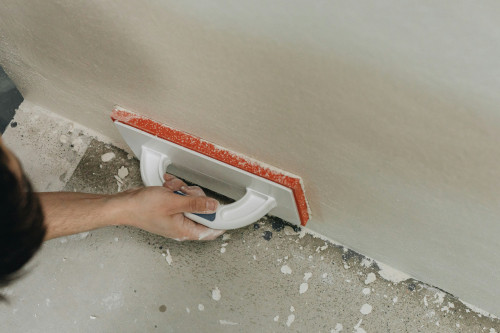
Laying the Bricks
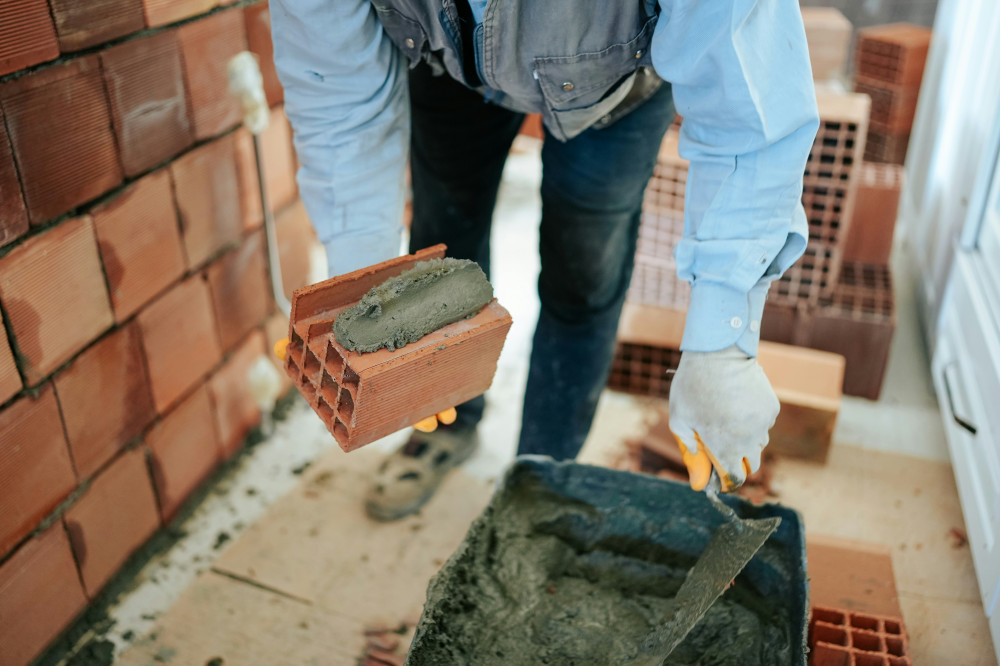
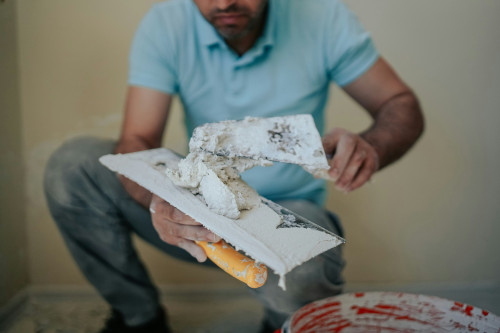
Once the foundation is ready, you can start laying bricks. Begin at one end or corner, and use a level and mason’s line to keep your wall straight and even.
- Spread a layer of mortar on the foundation.
- Set the first brick in place and press it gently into the mortar.
- Add mortar to one end of the next brick and place it about ⅜ inch away from the first.
- Continue the row, checking alignment frequently.
- Start the next row with a half brick to stagger the joints—this pattern adds strength and visual appeal.
Wipe away excess mortar as you go, and check that each row is level and plumb.
Finishing the Joints
When the mortar begins to firm up, use a jointing tool to smooth and shape the mortar lines. A slightly concave or sloped joint helps shed rainwater and protects the wall from moisture damage.
If you’re adding capstones, apply a layer of mortar on top of the final row and press the caps into place, ensuring they overhang slightly to direct water away from the wall.
Maintenance and Longevity
Brick walls require little maintenance, but a few simple steps will keep them looking great for decades:
- Clean off moss or dirt with a soft brush and mild detergent.
- Avoid using a pressure washer, which can damage mortar joints.
- Inspect for cracks or loose mortar once a year and repair as needed.
Proper care will help your brickwork withstand the elements and remain a lasting feature in your yard.
A Project That Builds Skill and Satisfaction
A small bricklaying project is a great way to learn a traditional craft while improving your outdoor space. It doesn’t require professional tools—just patience, precision, and a willingness to get your hands dirty. When you step back and admire the finished wall, planter, or bench you built yourself, you’ll not only have a functional addition to your backyard but also the satisfaction of a job well done.
Læs også: