Is Your Bathroom Ready for Painting? How to Assess It Step by Step

Is Your Bathroom Ready for Painting? How to Assess It Step by Step
A fresh coat of paint can completely transform your bathroom, making it look brighter, cleaner, and more modern. But before you grab a brush or roller, it’s essential to make sure the surfaces are actually ready for paint. Moisture, soap residue, and poor adhesion can quickly ruin your hard work if you skip the prep. Here’s a step-by-step guide to help you assess whether your bathroom is ready for painting—and what to do if it’s not.
1. Start by Evaluating the Room’s Condition
Begin with a close look at the overall state of your bathroom. Check for signs of moisture damage, mold, or peeling paint. If you notice flaking, bubbling, or dark spots in corners, those are red flags that need attention before painting.
- Inspect walls and ceiling for discoloration. Yellowish or dark stains often indicate moisture problems.
- Look for cracks and peeling paint. These can signal that the surface isn’t adhering properly.
- Feel for dampness. If the wall feels cool or moist, it’s not ready for paint yet.
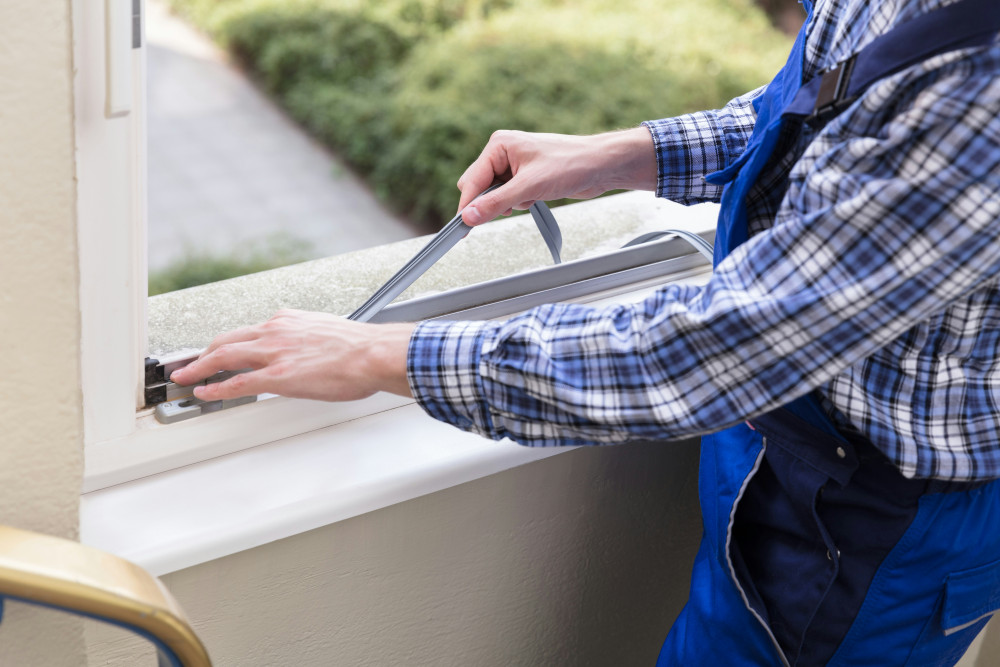
Bathrooms with poor ventilation or leaky caulking should be repaired before you start painting.
2. Test for Moisture and Check Ventilation
Moisture is the number one enemy of bathroom paint. Even the best paint won’t stick well to a damp surface.
Try this simple test: Tape a piece of plastic wrap tightly to the wall and leave it for 24 hours. If condensation forms underneath, the wall is still too damp to paint.
Also, make sure your ventilation system is working properly. A bathroom without adequate airflow will quickly develop mold and peeling paint. Clean the exhaust fan cover, and if your bathroom doesn’t have a fan, consider installing one to keep humidity under control.
Læs også:
3. Clean All Surfaces Thoroughly
Even if your walls look clean, they’re likely coated with soap scum, body oils, or residue from cleaning products—all of which can prevent paint from sticking. Use a degreasing cleaner or a product designed for paint prep to wash every surface.
- Use a sponge or cloth and rinse with clean water afterward.
- Avoid cleaners that contain wax or fragrance, as they can leave a film.
- Let the walls dry completely before moving on.
A thorough cleaning often makes the difference between a smooth, long-lasting finish and one that starts peeling within months.
4. Repair and Prepare the Surface
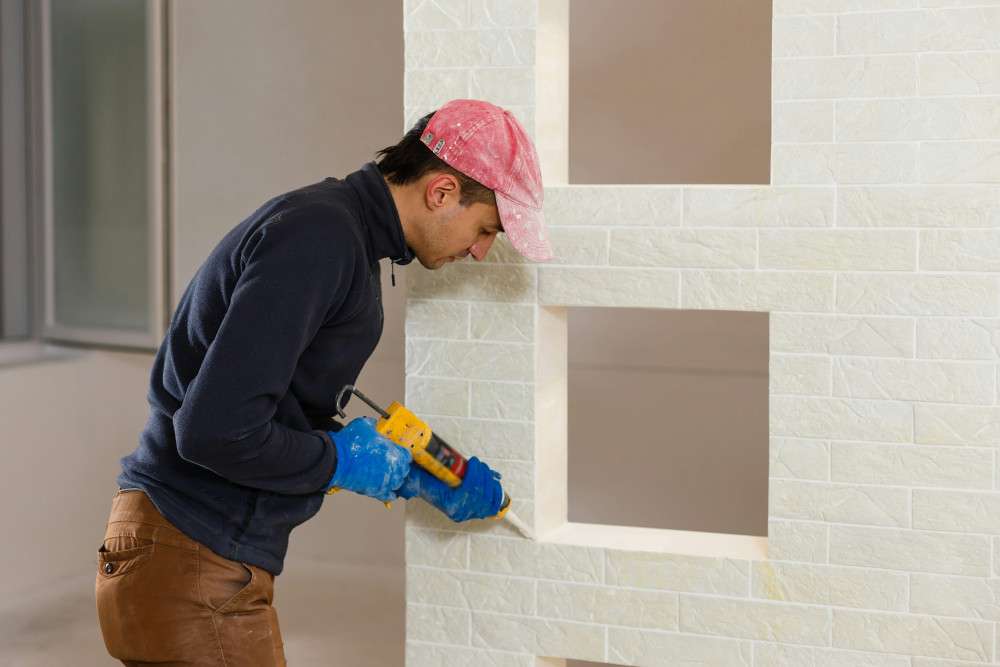
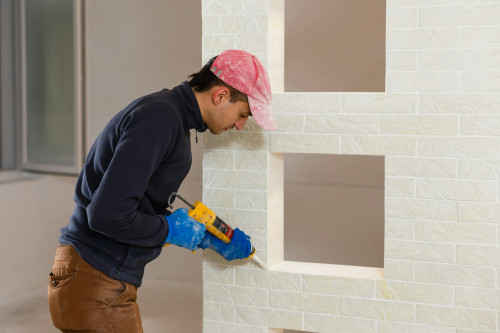
Once the walls are clean and dry, inspect them for holes, cracks, or uneven areas. These should be patched and sanded smooth before painting.
- Use a moisture-resistant spackling compound suitable for bathrooms.
- Lightly sand the patched areas with fine-grit sandpaper once dry.
- Wipe away sanding dust with a damp cloth.
If you’re painting over a glossy or previously painted surface, lightly scuff it with sandpaper to help the new paint adhere better.
5. Decide Whether You Need a Primer
A primer isn’t always required, but in many cases, it can make a big difference. If you’re painting over bare drywall, plaster, or patched areas, or if you’re covering stains, a primer will help the paint go on evenly and stick better.
Primers also help seal in any lingering discoloration so it doesn’t bleed through your new paint.
6. Choose the Right Paint
Once your bathroom is prepped, it’s time to pick the right paint. Bathrooms need paint that can handle humidity and frequent cleaning. Look for mildew-resistant or bathroom-specific paints with a semi-gloss or satin finish.
- Use semi-gloss or satin for walls and ceilings that aren’t directly exposed to water.
- For areas near the shower or tub, choose a paint labeled for high-moisture or wet environments.
Always follow the manufacturer’s instructions for best results.
7. Take Your Time—and Paint Under the Right Conditions
Even when everything looks ready, patience is key. Make sure the room is dry and the temperature is between 60°F and 80°F. Avoid painting right after a shower, when humidity is high.
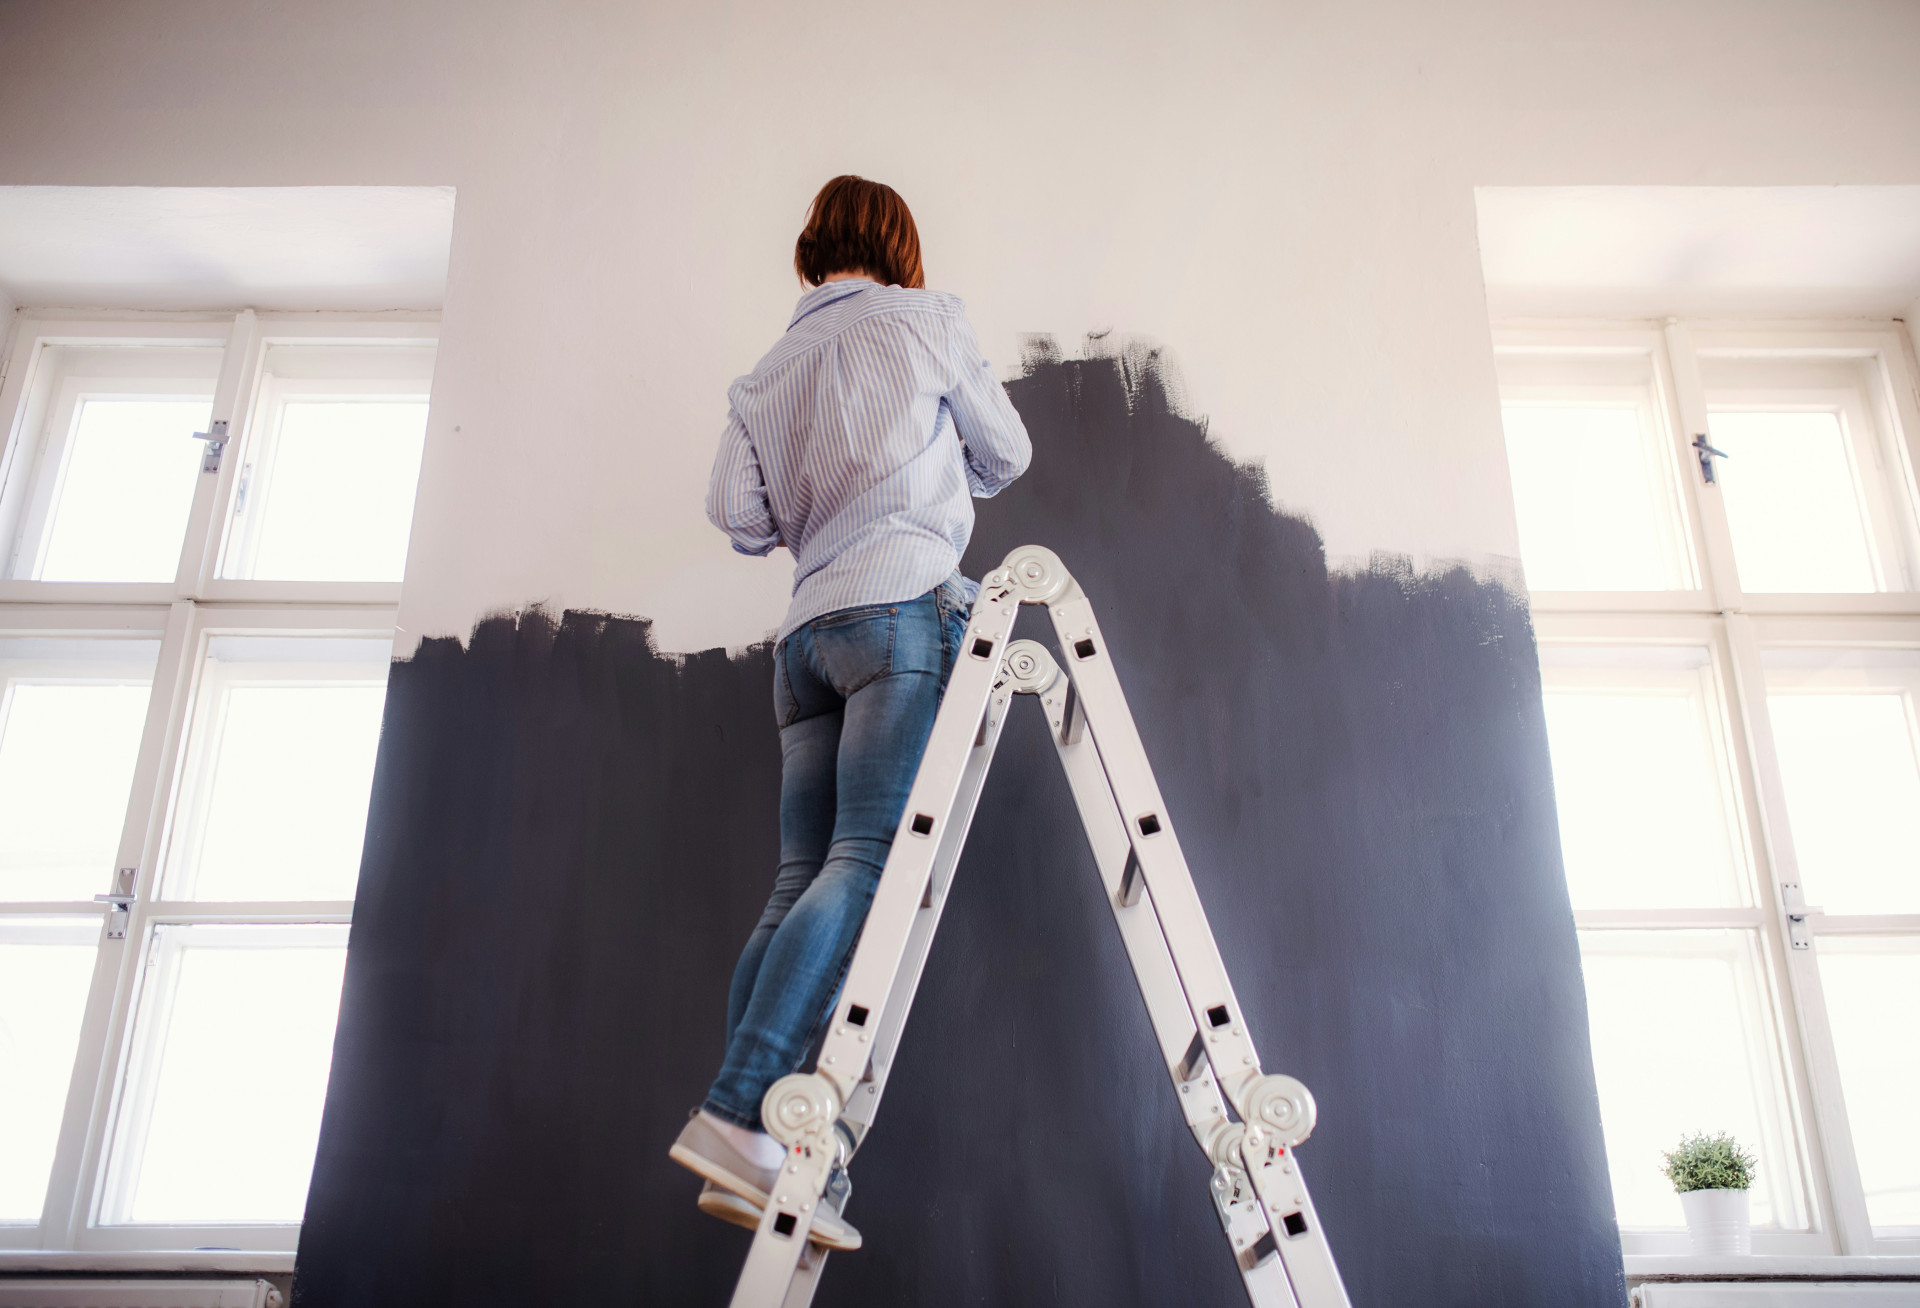
When you start painting, use smooth, even strokes and allow each coat to dry completely before applying the next. This ensures a more durable and professional-looking finish.
A Great Result Starts with Preparation
Painting a bathroom takes a bit more care than painting other rooms, but the effort pays off. Proper preparation ensures that your paint adheres well, resists moisture, and looks beautiful for years to come. So before you open that paint can, take the time to assess your bathroom carefully—it’s the best investment you can make in a lasting, flawless finish.
Læs også: